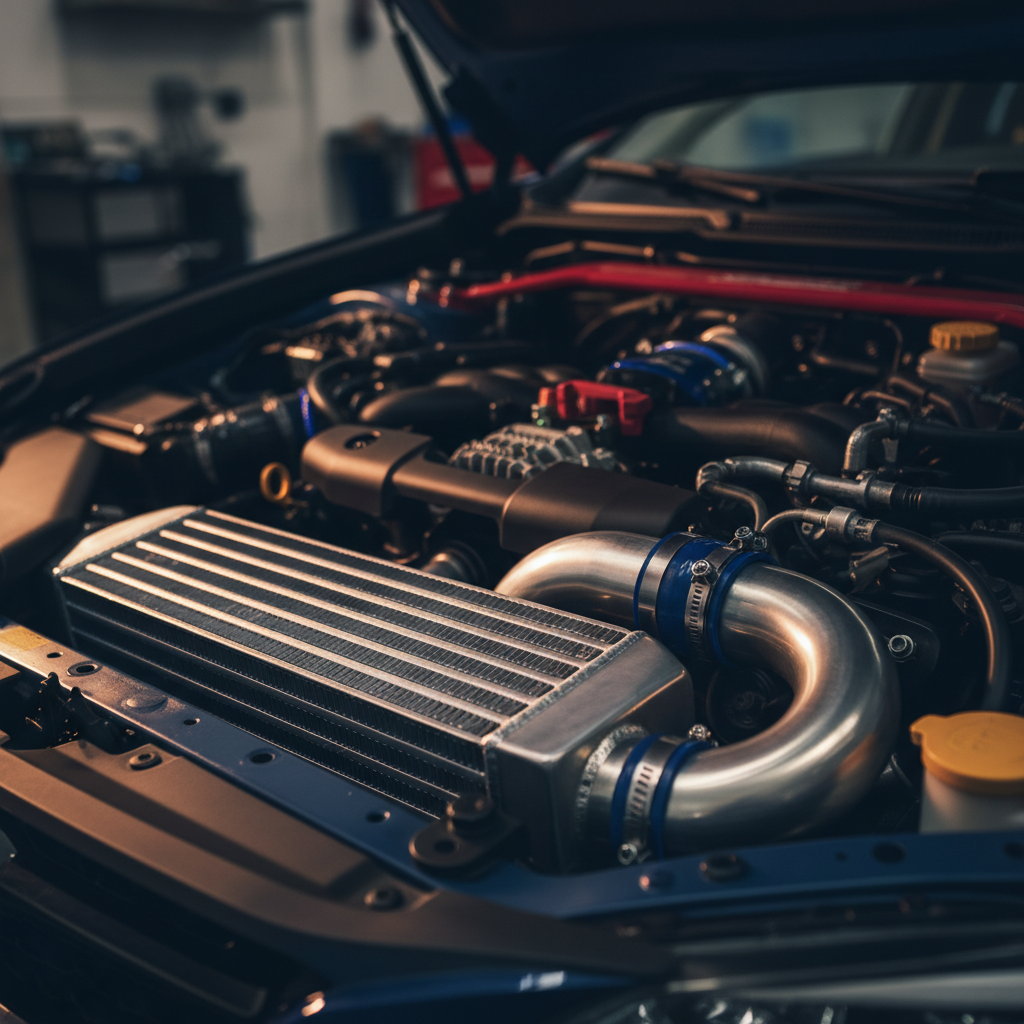
Why Your New Intercooler Is Killing Your WRX’s Power
Your new front mount intercooler is probably costing you power. The 600x300x100mm FMIC you just bolted on creates 2-3 PSI more pressure drop than the stock top mount, but your ECU is still trying to hit the same manifold pressures. The result? You’re making less boost where it counts, and your power curve shows it.
- Large intercoolers create 2-3 PSI more pressure drop than stock systems
- ECU boost maps target manifold pressure, not turbo outlet pressure
- Without recalibration, you lose 15-20 whp despite better cooling
- Boost by gear tables need adjustment for new pressure drop characteristics
- Proper tuning recovers lost power and maximizes intercooler benefits
Intercooler pressure drop: The difference between turbo outlet pressure and intake manifold pressure as air flows through the intercooler core and piping. Larger cores flow better at high volume but create more restriction at lower flows due to increased internal volume and longer flow paths.
What Pressure Drop Actually Does to Your Boost Control
Your ECU doesn’t care what pressure the turbo makes. It cares about manifold absolute pressure (MAP). When you swap to a larger intercooler, you’ve changed the relationship between these two pressures, but the ECU doesn’t know that.
Stock top mount intercoolers typically show 0.5-1.0 PSI pressure drop under full load. That 600x300x100mm front mount everyone runs? You’re looking at 2.5-3.5 PSI drop at the same flow rate. Your boost control system is still targeting the same MAP values, which means the turbo has to work harder to achieve them. Except it can’t, because the wastegate is still opening at the same turbo outlet pressure it always did.
The math is straightforward. If your tune calls for 18 PSI manifold pressure and your old intercooler had 1 PSI drop, the turbo made 19 PSI. With 3 PSI drop from the new intercooler, the turbo needs to make 21 PSI to achieve the same manifold pressure. But your wastegate actuator and boost control solenoid duty cycles haven’t changed, so the turbo never reaches that pressure.
You end up making 15-16 PSI at the manifold instead of 18 PSI. That’s where your power went. The intercooler is doing its job, cooling the charge air better than stock. But you’re moving less of that cooler air because your boost control strategy is all wrong.
What Your Datalog Shows After an Intercooler Swap
Pull a third gear pull and compare your pre-intercooler logs. You’ll see it immediately in the MAP vs boost target tables. Where you used to hit 17-18 PSI manifold pressure by 4000 RPM, you’re now seeing 14-15 PSI. Peak manifold pressure drops from 19-20 PSI to 16-17 PSI.
Check your boost control duty cycle. It’s probably pegged at 90-95% trying to compensate, when it used to run 60-70%. The ECU knows something’s wrong, it just doesn’t know what. Knock counts might actually improve because you’re making less boost, but timing advance stays conservative because the ECU thinks you’re having boost control issues.
Intake air temperatures tell the real story. Post-intercooler temps drop 10-15°C compared to stock, especially on consecutive pulls. The intercooler is working perfectly. On a dyno, you might see 15-20 whp loss despite the better cooling, particularly in the midrange where boost builds.
Your AFR might run slightly lean too. The MAF sensor calibration assumes a certain pressure drop characteristic. When that changes significantly, the ECU’s load calculations get skewed. It’s not dangerous lean, usually 11.8-12.2 AFR where you want 11.2-11.5, but it’s another power loss.
How to Properly Tune for Your New Intercooler
First, log your actual pressure drop. Use a pressure sensor at the turbo outlet and compare to MAP readings under load. Most front mount setups show 2.0-3.5 PSI drop depending on core size and piping efficiency. Document this across the RPM range because pressure drop isn’t linear.
Adjust your boost by gear tables to compensate. If you measured 3 PSI additional pressure drop, add 3 PSI to your boost targets across all gears. Your 18 PSI target becomes 21 PSI. The ECU will still see 18 PSI at the manifold, which is what you actually want.
Recalibrate your boost control PID values. The increased system volume changes response characteristics. You’ll typically need higher P and I values to achieve the same control precision. Start with 10-15% increases and dial it in from there.
Verify your MAF scaling still works correctly. The changed pressure drop affects flow calculations. You might need minor adjustments to maintain proper AFR targets, especially in boost transition zones. Most intercooler swaps need 2-3% MAF scaling corrections.
Don’t forget your boost leak test. New piping joints are the most common source of pressure loss, not the intercooler core itself. A 1 PSI leak compounds your pressure drop problem significantly.
Common Mistakes That Make the Problem Worse
Running higher boost targets to compensate without understanding pressure drop is the big one. Guys see low manifold pressure and just crank up the boost, not realizing they’re asking the turbo to make 22-23 PSI to achieve 19 PSI at the manifold. The turbo can’t sustain that pressure, so you get boost creep, inconsistent power delivery, and eventual bearing failure.
Ignoring the piping design makes things worse. Sharp bends, undersized piping, and poor intercooler inlet/outlet placement all increase pressure drop beyond what the core itself creates. A well-designed 600x300x76mm setup can outflow a poorly designed 600x300x100mm kit.
Assuming bigger is always better kills performance. Core volume matters for heat soak on track days, but pressure drop increases with size. For street cars that see occasional spirited driving, a properly sized core with efficient piping beats an oversized setup every time.
Copying someone else’s tune without accounting for intercooler differences is dangerous. Your buddy’s 20 PSI tune might translate to 17 PSI on your setup. The timing maps, fuel maps, and boost control strategy all need adjustment for your specific pressure drop characteristics.
FAQ
How much power loss is normal after installing a front mount intercooler?
Without proper tuning, expect 15-20 whp loss in the midrange despite better cooling. The larger intercooler creates 2-3 PSI more pressure drop than stock, reducing effective boost. Proper recalibration not only recovers this power but usually adds 10-15 whp over stock due to improved charge cooling. The key is adjusting boost targets to compensate for the changed pressure drop characteristics.
Can I just increase boost pressure to compensate for intercooler pressure drop?
Not effectively without proper tuning. Simply raising boost targets asks the turbo to make pressures it can’t sustain with stock wastegate control. You’ll get boost creep, inconsistent power delivery, and increased bearing stress. The correct approach is calculating actual pressure drop through datalogging, then adjusting boost by gear tables and PID control values to maintain proper manifold pressures.
Why does my boost control duty cycle hit 95% after an intercooler upgrade?
Your ECU is trying to compensate for the increased pressure drop but doesn’t understand what changed. It sees low manifold pressure compared to targets and maxes out the boost control solenoid trying to fix it. This indicates your boost targets need adjustment for the new intercooler’s flow characteristics. Proper recalibration will bring duty cycles back to normal 60-75% range.
Do all front mount intercoolers require ECU recalibration?
Yes, any intercooler that significantly changes pressure drop characteristics needs boost map adjustments. Even direct replacement cores can have different flow properties than stock. The larger the intercooler and the more extensive the piping changes, the more critical proper recalibration becomes. Without it, you’re not getting the performance you paid for.
Your datalog tells the whole story. Compare your manifold pressures before and after the intercooler swap, measure the actual pressure drop, and tune accordingly. TorqueMetrics makes it easy to overlay these logs and spot the differences that matter for your setup.