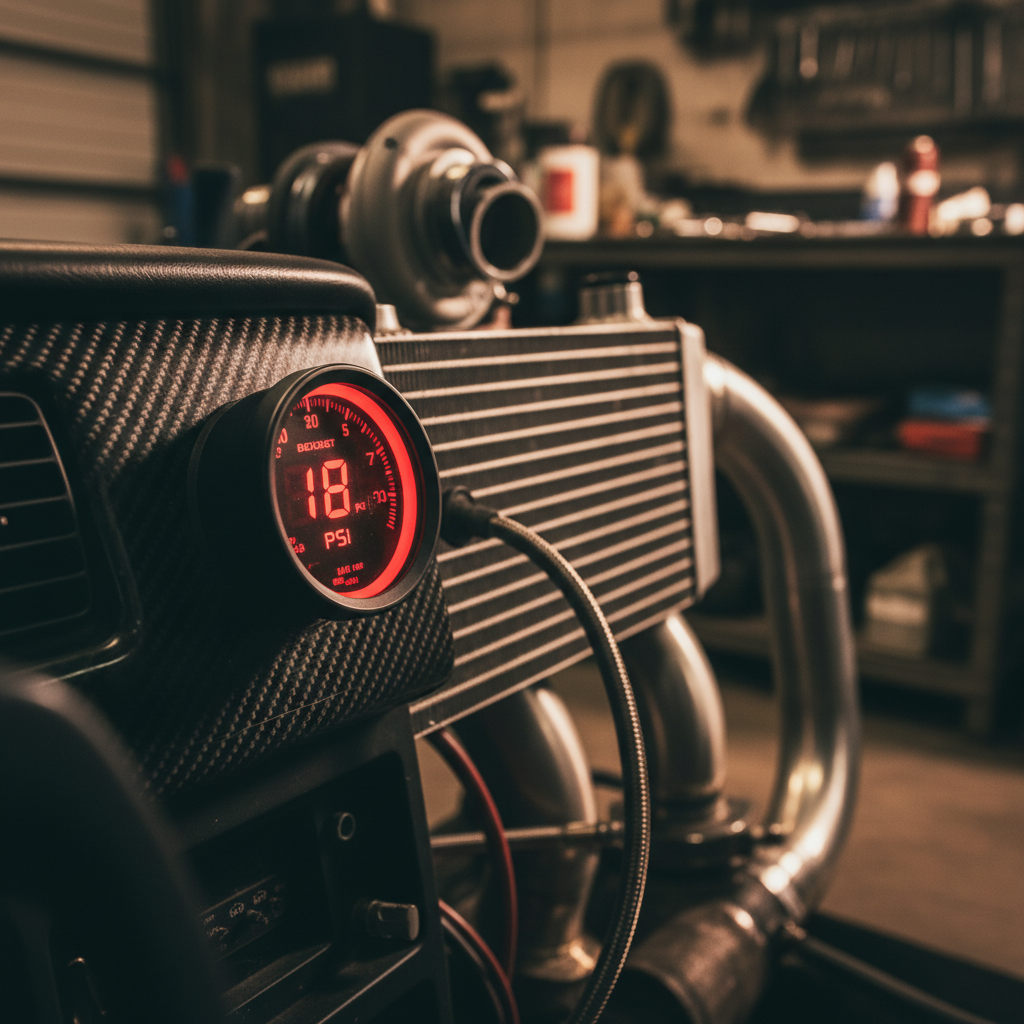
DIY Boost Controller Setup: The 30-Second Test That Prevents Engine Failure
Most DIY boost controller installations fail catastrophically within the first week. Not from bad tuning, but from a loose vacuum line or cracked boost hose that nobody caught. The 30-second boost leak test prevents this, but 90% of DIY installers skip it entirely.
Quick Answer
- Boost leaks cause uncontrolled overboosting that destroys engines in seconds
- The 30-second test uses shop air to pressurize the system and reveal leaks before startup
- Test at 20 PSI (138 kPa) minimum, listen for hissing, check all connections
- Most failures happen at vacuum line connections and intercooler couplers
- One loose clamp at 18 PSI can spike boost to 25+ PSI and crack pistons
Boost leak: Any unintended air escape from the pressurized intake system that prevents the boost controller from accurately regulating turbo pressure, often leading to dangerous overboosting scenarios.
Why DIY Boost Controller Installations Go Wrong
The problem isn’t the boost controller itself. Electronic boost controllers are reliable when installed correctly. The problem is that most people treat them like bolt-on parts instead of precision control systems that depend on perfect pressure integrity.
Your stock boost control system uses a simple wastegate actuator with a single vacuum line. Add an electronic boost controller and you’ve introduced multiple vacuum lines, solenoids, and connection points. Each connection is a potential failure point. Miss one loose fitting and your carefully planned 14 PSI (97 kPa) target becomes an uncontrolled 22 PSI (152 kPa) spike that grenades your bottom end.
The physics are straightforward. When your boost controller can’t accurately sense manifold pressure due to a leak, it can’t control the wastegate properly. The turbo keeps building pressure until something mechanical stops it, usually your engine’s connecting rods or pistons. This happens in seconds, not minutes. By the time you see the boost gauge climbing past your target, the damage is already done.
Most DIY installers focus on the wiring and software setup. They’ll spend hours configuring boost curves and safety parameters, then skip the basic pressure test that would catch the loose vacuum fitting that kills their motor.
What the Data Shows When Boost Control Fails
Real failure logs tell the same story. You’ll see boost climbing normally to target, then a sudden spike. 14 PSI becomes 18 PSI, then 22 PSI in under two seconds. Knock counts explode. Timing gets pulled 8-12 degrees. AFR goes lean as the ECU can’t keep up with the sudden airflow increase. Then the log ends because the engine stops running.
The telltale pattern is boost overshoot with delayed correction. A properly functioning boost controller will hit target pressure and hold it within 0.5 PSI (3 kPa). When you see boost climbing 3-4 PSI past target before starting to drop, that’s your boost controller fighting a leak somewhere in the system.
Temperature data often shows the real culprit. Intake air temperatures spike when boost leaks occur at the intercooler connections. The compressed air escaping carries away the cooling effect you paid for, and the remaining air entering the engine is significantly hotter. This compounds the knock problem and accelerates engine damage.
MAP sensor readings will show erratic behavior. Instead of smooth pressure curves, you get jagged traces as the sensor tries to read pressure in a system that’s constantly bleeding air. The boost controller receives bad data and makes bad decisions.
The 30-Second Test That Prevents $8000 Rebuilds
The boost leak test is dead simple. Remove the turbo inlet pipe or block it with a rubber stopper. Connect a shop air line with a pressure gauge to any vacuum port on the intake manifold. Pressurize the system to 20 PSI (138 kPa) and listen.
You’re listening for any hissing sound. Start at the turbo and work toward the throttle body. Check every intercooler connection, every vacuum line, every clamp. Pay special attention to the boost controller’s vacuum lines, these are usually the newest connections and most likely to leak.
A properly sealed system will hold 20 PSI for several minutes with minimal pressure drop. If pressure drops more than 2 PSI in the first minute, you have a significant leak that will cause problems. Don’t start the car until you find and fix it.
Test at higher pressure than your boost target. If you’re planning to run 15 PSI, test at 20 PSI. Leaks that might hold together at low pressure will open up under the dynamic loads of actual driving. Better to find them now than when you’re pulling third gear at redline.
Document your findings. Note which connections needed tightening and retest after making adjustments. This baseline test result becomes your reference point for future troubleshooting.
Common Installation Points Where Everything Goes Wrong
Three connection points cause 80% of DIY boost controller failures. First, the vacuum line from the boost controller to the wastegate actuator. This line sees full manifold pressure and vacuum cycles hundreds of times per drive. Use proper vacuum hose rated for boost pressure, not the generic stuff from the parts store.
Second, intercooler couplers that get disturbed during installation. You’re routing new vacuum lines and inevitably bump or loosen something. Every silicone coupler should be checked and re-torqued to specification. The clamps themselves matter, use proper T-bolt clamps on high-pressure connections.
Third, the boost reference line to the boost controller itself. This is often the thinnest vacuum line in the system and most prone to cracking or coming loose. Route it away from heat sources and secure it properly. A loose boost reference line gives the controller bad data and unpredictable behavior.
Electronic connections fail too, but they usually cause limp mode or obvious error codes. Vacuum leaks cause the opposite problem, everything seems fine until the engine destroys itself under full boost. The boost controller shows normal operation right up until the moment it can’t control anything.
Temperature cycling makes everything worse. That perfectly tight connection at 20°C ambient becomes loose after a few heat cycles to 90°C engine bay temperatures. Always do your pressure test after the engine has been fully warmed up and cooled down at least once.
FAQ
How often should I pressure test my boost system after installing a boost controller?
Test immediately after installation, then again after your first 100 miles of driving. Temperature cycling and vibration can loosen connections that seemed tight initially. After that, test any time you experience unexplained boost behavior or if you’ve worked on anything in the intake system. Annual testing isn’t overkill for high-boost applications.
What pressure should I use for testing if my boost target is only 12 PSI?
Always test at least 5 PSI higher than your maximum boost target. For a 12 PSI setup, test at 17-20 PSI minimum. This accounts for boost spikes during gear changes and ensures connections that might hold at low pressure won’t fail under dynamic loads. If your system can’t hold 20 PSI static, it definitely can’t handle 12 PSI under real driving conditions.
Can I use a manual boost controller instead to avoid these installation issues?
Manual boost controllers have fewer connection points but still require the same pressure testing. They use a simple ball-and-spring valve instead of electronic solenoids, but they still depend on vacuum line integrity to function properly. The advantage is simpler troubleshooting when things go wrong, but proper installation and testing procedures remain identical.
What tools do I need to perform the 30-second boost leak test?
You need a shop air compressor, a pressure gauge accurate to at least 30 PSI, an air chuck or fitting to connect to your intake system, and a way to block the turbo inlet. A rubber stopper or blocked-off pipe works fine. Total cost is under $50 if you already have compressed air. The alternative is a $8000 engine rebuild, so the math works out.
Your boost controller installation isn’t complete until you’ve verified system integrity under pressure. Skip the test and you’re gambling with your engine. Take the 30 seconds, find the leaks before they find your connecting rods. TorqueMetrics can help you analyze the boost control data once your system is properly sealed and functioning.