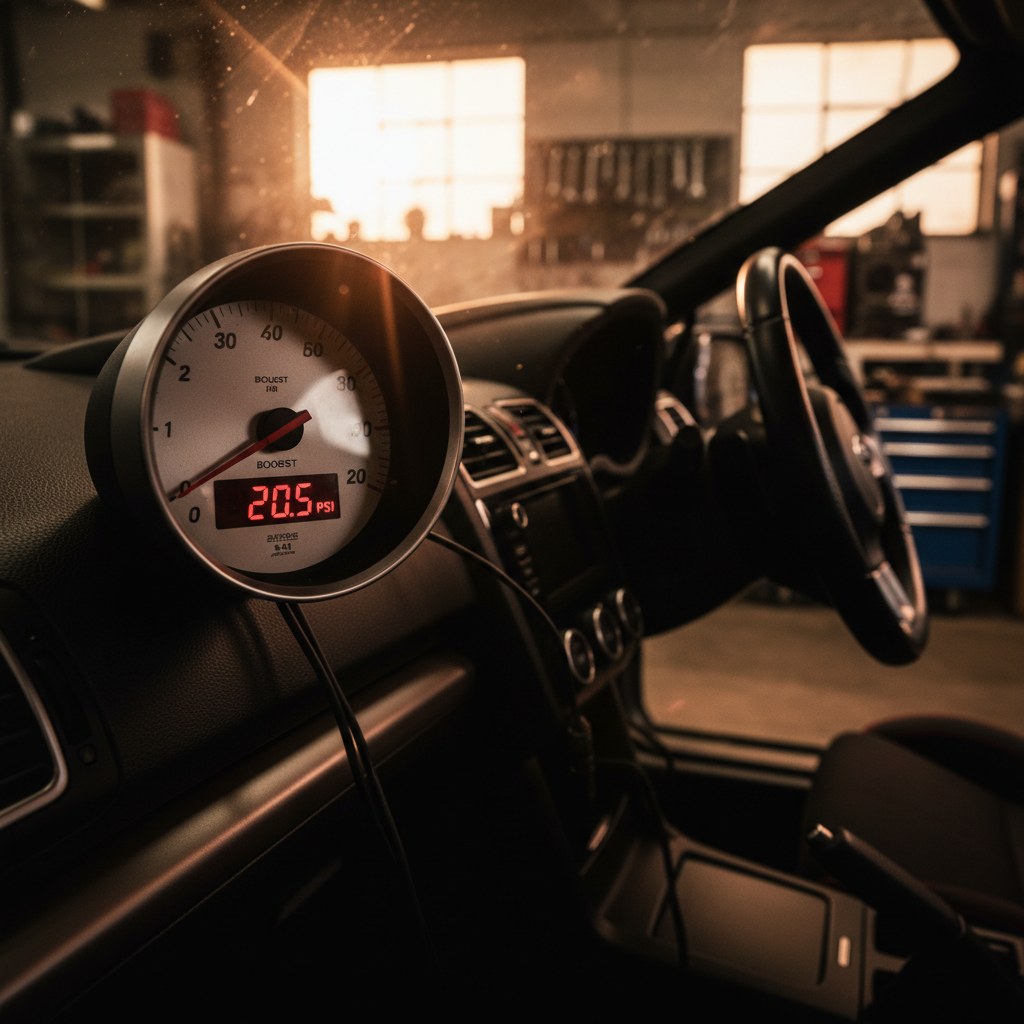
WRX Stage 2 vs Stage 3: Which Boost Level Actually Makes Sense?
Stage 2.5 WRX builds consistently deliver better reliability and nearly identical power to Stage 3 setups, running 20-22 PSI (138-152 kPa) boost with improved fuel delivery. Most owners skip this configuration entirely, jumping from Stage 2’s conservative 18-20 PSI (124-138 kPa) straight to Stage 3’s aggressive 22-24 PSI (152-165 kPa) without understanding the supporting modifications required.
Quick Answer: WRX Stage Comparison
- Stage 2: 18-20 PSI boost, +2° timing advance, stock fuel system adequate
- Stage 2.5: 20-22 PSI boost, +3° timing advance, upgraded fuel pump required
- Stage 3: 22-24 PSI boost, +4° timing advance, full fuel system and internals needed
- Stage 2.5 delivers 90% of Stage 3 power with 60% of the supporting modification cost
- Timing pull under load reveals which stage your fuel system can actually support
Stage tuning: A classification system for WRX and STI modifications based on boost pressure targets, supporting modifications required, and overall system stress levels.
What Each Stage Actually Demands from Your Engine
Stage 2 runs 18-20 PSI (124-138 kPa) because that’s what the stock fuel system can support reliably. Your fuel pressure should hold steady at 60 PSI (414 kPa) at the rail under full boost. Timing advance stays conservative at +2 degrees over stock. The stock top-feed injectors flow enough fuel to maintain 10.5-11.0 AFR under load.
Stage 3 pushes 22-24 PSI (152-165 kPa) and adds +4 degrees of timing advance. This requires 1000cc injectors minimum, a high-pressure fuel pump, and often forged internals depending on your power goals. The fuel system upgrade alone costs $1,500-2,000 before installation. Your engine sees 40-50% more cylinder pressure than stock.
Stage 2.5 sits at 20-22 PSI (138-152 kPa) with +3 degrees timing advance. You need an upgraded fuel pump but can often run stock injectors with proper tuning. The power difference between Stage 2.5 and full Stage 3 is usually 15-25 horsepower, not the 50+ most people expect. Your datalogs will show identical boost curves with slightly better fuel pressure stability.
What Your Datalogs Reveal About Each Stage
Stage 2 datalogs show clean boost curves that hit target quickly and hold steady. Fuel trims stay within 5% of target. Timing corrections rarely exceed 2-3 degrees of pull, even on 91 octane. Your knock count stays under 5 per pull in most conditions. These are the numbers that tell you your setup is working within its design limits.
Stage 3 datalogs demand perfect conditions. Boost overshoots target by 1-2 PSI initially before the wastegate catches up. You’ll see 4-6 degrees of timing pull on pump gas, sometimes more in summer heat. Fuel pressure drops under sustained load without proper pump and rail upgrades. Knock counts climb past 10-15 per pull when the fuel system can’t keep up. The data shows why Stage 3 needs every supporting modification.
Stage 2.5 datalogs combine the stability of Stage 2 with most of Stage 3’s power potential. Boost control stays tight with minimal overshoot. Timing pulls stay under 3-4 degrees even on 91 octane. Fuel pressure holds steady with just a pump upgrade. Your knock sensor rarely sees sustained activity. The logs prove why this configuration works so well for daily-driven builds.
How to Choose the Right Stage for Your Build Goals
Pick Stage 2 if you want reliability over peak numbers. Your stock fuel system will support 280-320 wheel horsepower depending on your turbo choice. Maintenance stays predictable. You can run 91 octane without timing corrections in most climates. This stage makes sense for daily drivers who want more power without constant monitoring.
Choose Stage 2.5 when you want most of Stage 3’s power without the complexity. Upgrade your fuel pump to a Walbro 255 or equivalent. Keep your stock injectors if they’re in good condition. Target 320-350 wheel horsepower with proper tuning. This hits the sweet spot for weekend track cars and spirited daily driving. The supporting modifications cost half of full Stage 3.
Go full Stage 3 only when you need maximum power and accept the consequences. Budget $4,000-6,000 for fuel system, internals, and proper tuning. Plan for more frequent maintenance and premium fuel requirements. Your datalogs will need constant attention. This makes sense for dedicated track cars or drag builds where peak power justifies the complexity.
Common Mistakes That Kill Stage 3 Builds
Running Stage 3 boost pressure on Stage 2 supporting modifications destroys engines predictably. Your fuel system can’t deliver the volume needed at 22+ PSI. Lean conditions develop under sustained load. Timing gets pulled aggressively to prevent detonation, but damage accumulates anyway. The engine management system can only compensate so much before something gives.
Skipping proper fuel system upgrades while chasing Stage 3 numbers creates a ticking time bomb. Your fuel pressure drops under load, creating lean spikes that show up in your wide-band logs. Ring land failure follows within months. The repair costs far exceed what proper supporting modifications would have cost initially.
Tuning Stage 3 setups on 91 octane invites disaster in summer conditions. Your timing maps get pulled so aggressively that power drops below Stage 2 levels. Heat soak becomes a constant battle. Your intercooler can’t keep up with the thermal load. Smart builders run E85 or race fuel when ambient temperatures climb above 30°C.
Frequently Asked Questions
What boost pressure should I target for reliable daily driving?
Stick to 18-20 PSI (124-138 kPa) for daily driving reliability. This pressure level works within your stock fuel system capabilities and doesn’t stress engine internals excessively. Your timing corrections will stay minimal, fuel economy remains reasonable, and maintenance intervals don’t shrink dramatically. Most owners find this provides plenty of power for street driving while maintaining long-term durability.
Can I run Stage 3 boost pressure with just a fuel pump upgrade?
No, a fuel pump alone won’t support true Stage 3 boost levels safely. You need larger injectors, upgraded fuel rails, and often a return fuel system to handle the volume demands at 22+ PSI. Running high boost on inadequate fuel delivery creates lean conditions that destroy engines quickly. The pump upgrade gets you to Stage 2.5 levels, but full Stage 3 requires comprehensive fuel system modifications.
How much power difference exists between Stage 2.5 and Stage 3?
The power difference is typically 15-25 wheel horsepower, much less than most people expect. Stage 2.5 builds often make 320-350 wheel horsepower while Stage 3 pushes 340-370 wheel horsepower with identical turbos. The supporting modification cost difference is substantial though, with Stage 3 requiring fuel system, internals, and more aggressive tuning. Many owners find Stage 2.5 delivers better power-per-dollar invested.
What timing advance is safe for each boost level?
Stage 2 setups can safely run +2 degrees over stock timing maps on quality pump gas. Stage 2.5 builds handle +3 degrees with proper fuel delivery and octane. Stage 3 configurations can push +4 degrees but require race fuel or E85 in most climates. These numbers assume proper supporting modifications and professional tuning. Conservative timing with adequate fuel delivery always beats aggressive timing on marginal fuel systems.
The boost pressure and timing data from thousands of WRX builds consistently shows Stage 2.5 as the performance sweet spot most owners miss entirely. Your engine will thank you for the restraint while your dyno sheets prove the power is still there. Want to see how your current setup compares? Log your next few pulls and upload them to TorqueMetrics to spot exactly where your tune stands.